Collect Wedding Photos from Guests: 7 Creative Ideas
- Guest photos end up scattered across dozens of phones - pick a collection method before the wedding, not after.
- A live photo wall gets the highest participation (60-80% of guests) because pictures appear on screen instantly; prices start at 39€.
- Free options like WhatsApp groups or cloud links work for small weddings but mean compressed quality or low participation.
- Whatever you choose: announce it repeatedly, appoint a photo coordinator, set an upload deadline - and don't combine more than 2-3 methods.
Contents
- Quick Overview: Which Method Fits You?
- 1. Live Photo Wall (Digital Screen)
- 2. Disposable Cameras on the Tables
- 3. WhatsApp Group (The Easy Way)
- 4. Google Drive / Dropbox Shared Link
- 5. QR Code with an Upload Tool
- 6. Instagram Hashtag (The Public Option)
- 7. USB Stick Collection Station (The Analog-Digital Hybrid)
- Which Method Is Right for You?
- The Best Combinations
- 5 Practical Tips That Really Help
- The Honest Truth About Guest Photos
- Frequently Asked Questions (FAQ)
- Conclusion: Which Method Wins?
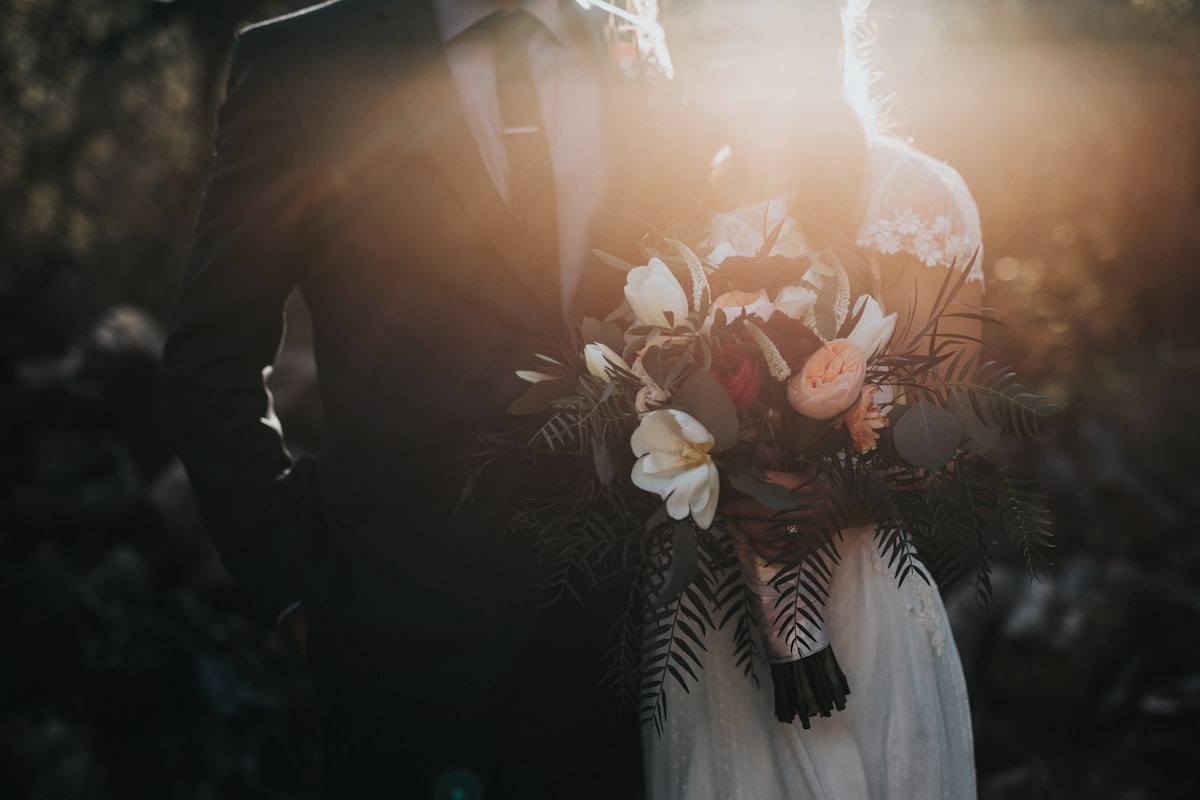 Wedding guests taking pictures - these precious snapshots are the ones worth collecting
You want to collect your wedding photos and share them with all your guests? Your wedding photographer takes beautiful pictures - but the spontaneous guest photos are often just as valuable. The problem: after the wedding, those photos are scattered across 80 different smartphones, and you never get to see them.
These days there are plenty of ways to collect and share guest photos at a wedding - but they don't all work equally well. Some are super simple but only get you half the pictures. Others are technically perfect, but your grandma won't figure them out.
Full disclosure up front: Yes, we offer a live photo wall solution ourselves with Event-Photowall. Still, we'll walk you through all the options with their pros and cons, so you can decide what's right for your wedding - with or without us.
In this article, we'll look at 7 methods, each with its advantages and drawbacks.
Quick Overview: Which Method Fits You?
| Method | Cost | Tech Level | Photo Quality | Effort | Best for... |
|---|---|---|---|---|---|
| Live photo wall | € (39-169€) | Easy | High | Low | Modern weddings, Instagram-savvy guests |
| Disposable cameras | €€ (230-400€) | None | Retro charm | Medium | Vintage weddings, older guests |
| WhatsApp group | Free | Easy | Good | Low | Small weddings (under 50 guests) |
| Cloud link | Free | Medium | Very good | High | Tech-savvy guests |
| QR code upload | €-€€ (20-80€) | Medium | Very good | Medium | All age groups |
| Instagram hashtag | Free | Easy | Compressed | Low | Young, social-media-active guests |
| USB stick station | €€ (140-200€) | Complicated | Very good | High | DIY fans, small weddings |
The fewer € signs, the cheaper the option.
1. Live Photo Wall (Digital Screen)
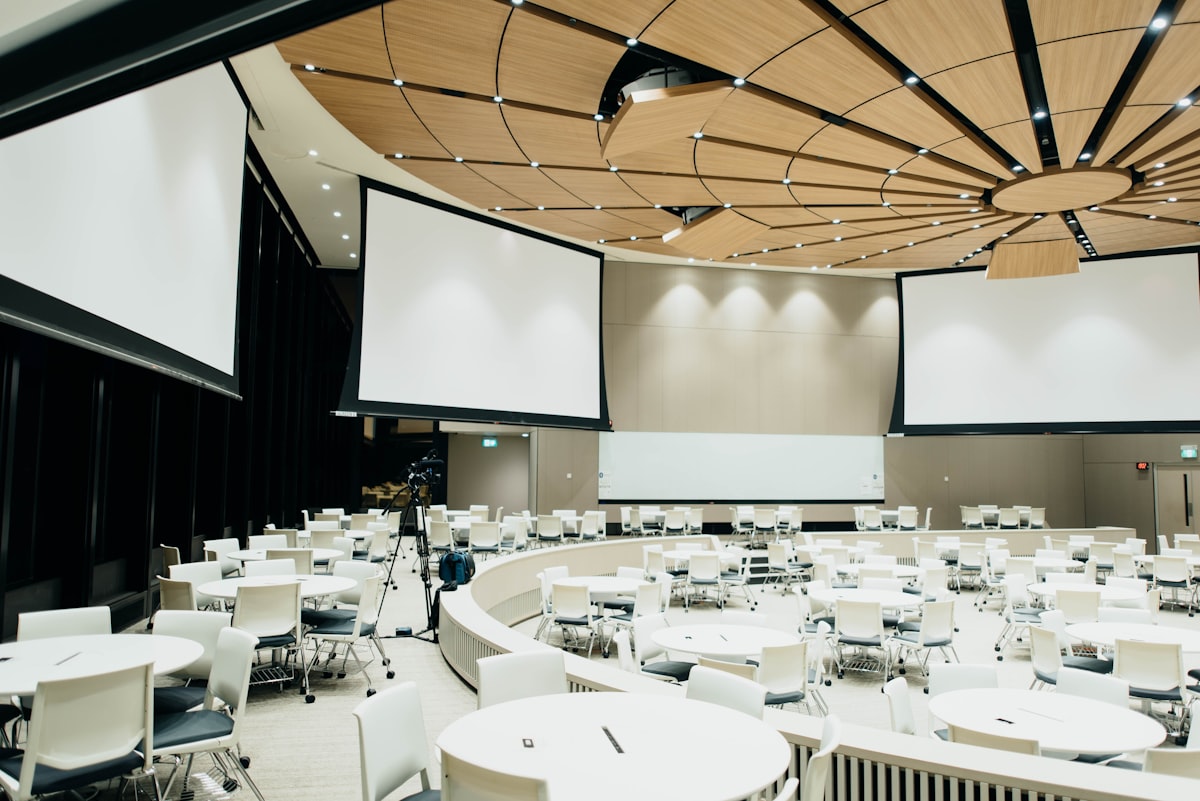 Digital live photo wall: guest photos appear on the big screen instantly
The most modern option: your guests upload photos and see them straight away on a large screen or projector (you'll need a PC or TV). This way you collect wedding photos without an app - the upload runs in the browser, so nobody has to install a wedding photo app first.
How does it work?
You book a digital photo wall solution. Guests scan a QR code with their smartphone, upload their photos - and seconds later, the pictures appear on a TV or projector.
Modern systems like Event-Photowall offer more than just displaying photos: photo challenges (e.g. "Take a photo with the newlyweds" or your own custom tasks), quiz questions, photo voting and overlays showing the day's schedule. A built-in event page shows the timeline, an activity ranking reveals who has uploaded the most photos, and guests can later download all the pictures in original quality. The style of the photo wall and the guest area is customizable; a song request plugin is planned.
Advantages
- Instant effect: Guests see their photos right away, which motivates them to upload
- Party factor: It becomes a talking point - people take extra photos just for the wall
- High upload rate: Significantly more guests join in than with passive methods
- Automatic collection: All pictures in one place, digitally, in original quality
- Automatic moderation available: No embarrassing surprises on the screen
- Interactive features and event page (see above), and guests download everything themselves later
Disadvantages
- Costs money: Depending on the provider and feature set, 39-170€ for the software, possibly plus projector rental (100-200€)
- Needs tech: TV/projector, Wi-Fi, PC
- Venue-dependent: Not every venue has stable internet
- Battery problem: Guests need to keep their phones handy
Costs in detail
- Event-Photowall Basic: From 39€ for one day with essential features
- Event-Photowall Package (recommended): From 74€ for one day with all features (see above), including automatic moderation
- Event-Photowall largest package: Up to 169€ with all premium features and extended options
- Hardware rental (if needed): Projector approx. 100-200€ extra (you usually already have a TV, or the venue provides one)
→ See Event-Photowall plans & pricing
How to set it up
- Book a provider - e.g. Event-Photowall (from 39€) or other services
- Optional: Prepare photo challenges and quiz questions (in Event-Photowall's admin area)
- Print QR codes for the tables and the entrance (provided by the service)
- Hardware setup on the wedding day: connect the TV/projector
- Tell your guests (a short announcement after the ceremony)
Practical tip: Don't put the screen right next to the dance floor. Otherwise everyone stands in front of the screen instead of dancing. Use the photo challenges to capture specific moments on purpose - it's hugely motivating for guests!
Who is it for?
Perfect if your guests are mostly under 60 and you have a bit of budget to spare. At venues with good Wi-Fi, it's a real highlight.
2. Disposable Cameras on the Tables
 Disposable cameras on wedding tables - a classic, but with limitations
A classic option with retro charm. Disposable cameras at a wedding work entirely without apps or tech: you place a camera on each table, guests snap away, and after the celebration you get the films developed.
How does it work?
One camera per table (approx. 27 photos per camera), plus a small sign: "Capture this moment!". After the party, you collect the cameras and have the films developed.
Advantages
- Zero tech: Works perfectly even for guests who avoid technology
- Retro charm: The slightly blurry, overexposed shots have their own appeal
- Surprise effect: You have no idea what's on the film beforehand
- No phones at the table: People stay more present in the moment
- Vintage look: Fits boho or retro weddings perfectly
Disadvantages
- Developing takes time: You won't see the pictures until days or weeks later
- Cost per photo: Developing + scanning approx. 15-25€ per camera
- Unpredictable: Some cameras stay untouched, others fill up fast
- No control: You don't know whether the photos turned out well
- Waste: Disposable cameras aren't exactly sustainable
- Image quality: Often worse than modern smartphones - blurry shots, poor lighting
- Rarely revisited: The photos are seldom looked at again after developing
Costs in detail
- Disposable cameras: 8-15€ each
- Developing + scanning: 15-25€ per camera
- Total for 10 tables: Approx. 230-400€
Alternative: Reusable instant cameras like Polaroid or Fujifilm Instax - but film costs are very high and the flash quality is often disappointing. Modern smartphones usually deliver better results.
How to set it up
- Order cameras online (tip: look for wedding multi-packs)
- Craft or print small signs with instructions
- Place one camera + sign per table
- Collect them after the party (best to put someone in charge of this)
- Have the films developed (at a local photo lab, drugstore or online developing service)
Practical tip: Buy 2-3 extra cameras. Some get lost or accidentally taken home.
Who is it for?
For true vintage lovers, and as a nostalgic add-on. Keep in mind, though, that the image quality is often disappointing and the photos are rarely looked at afterwards. As your main method, we'd lean towards modern alternatives that deliver better quality with less effort.
3. WhatsApp Group (The Easy Way)
 WhatsApp group: simple, but quickly chaotic at bigger weddings
The quick & dirty solution: you create a WhatsApp group called "Lisa & Tom's Wedding" and all your guests drop their photos in. No setup, no cost, everyone knows how it works.
How does it work?
Create the group, share the link before or during the wedding (e.g. via QR code or on the invitations). Guests join and post their photos straight into the group.
Advantages
- Free: Zero euros
- Everyone knows WhatsApp: Even your grandma can handle it
- Instant sharing: Guests upload photos right during the party
- Communication: You can say thanks, people can comment
- No extra setup: Done in 2 minutes
Disadvantages
- Guaranteed chaos: With 100 guests, the group explodes
- Compressed quality: WhatsApp shrinks images massively
- Annoyance factor: Hundreds of notifications during your honeymoon
- Phone numbers: Not everyone wants to share their number with the whole party
- Tedious downloading: Saving every single picture individually is a pain
Costs
Free (unless you use premium features like WhatsApp Business).
How to set it up
- Create a WhatsApp group with a clear, descriptive name
- Generate a group link (WhatsApp > Group > Invite via link)
- Create a QR code (e.g. with an online QR code generator)
- Place the code on table cards or at the entrance
- Optional: mute the group for your own sanity
Practical tip: Only create the group on the wedding day itself and initially set it so only admins can post. You can change that later once everyone has joined. This way you avoid planning chaos and keep more control on the day.
Who is it for?
Small weddings (up to 50 guests), or as a backup alongside other methods. If the budget is truly tight, it works - just be prepared for chaos.
4. Google Drive / Dropbox Shared Link
The cloud solution for the organized. You create a shared folder in Google Drive or Dropbox and share your wedding photos via the cloud: guests upload their pictures, and everything stays stored in one central place.
How does it work?
Create a folder, enable upload permissions, generate a link. Guests open the link on their phone, select photos and upload them. You get access to all the pictures in full quality.
Advantages
- Free: Up to 15 GB (Google Drive) or 2 GB (Dropbox) at no cost
- Full quality: No photo compression
- Automatically organized: All pictures in one place
- Long-term storage: No loss after a few months
- Easy sharing: You can share the folder with family later
Disadvantages
- Not intuitive: Many guests don't understand the upload process
- Mobile upload is fiddly: Uploading from a phone is cumbersome
- Low participation: Many guests simply forget after the wedding
- Limited storage: With lots of photos, you'll need a paid plan
- No motivation: No instant display like with a photo wall
Costs in detail
- Free tier: Usually enough for 200-400 wedding photos
- Google One (100 GB): A couple of euros per month (if you need more space)
- Dropbox Plus (2 TB): Roughly a dozen euros per month
How to set it up
- Create a folder in Google Drive or Dropbox
- Sharing settings: "Anyone with the link can upload files"
- Create a short link (e.g. via bit.ly) so it's easy to type
- Generate a QR code + place it on table cards/at the entrance
- Add clear instructions (a screenshot of the upload button helps!)
Practical tip: Create a mini guide with screenshots. "1. Open the link, 2. Tap the plus button, 3. Upload photos". Seriously - many people need it.
Who is it for?
Guests who are tech-savvy and motivated enough to remember the upload after the wedding. Works well as a long-term solution alongside an instant method.
5. QR Code with an Upload Tool
 QR code on a place card: quick access to the photo upload for every guest
The golden middle ground. Specialized tools like WeTransfer, Filebin or dedicated wedding upload platforms offer a simple upload via QR code.
How does it work?
You use a service (some are free, some cost a little) that generates an upload link with a QR code. Guests scan the code, upload photos - done. Some tools also include built-in galleries.
Advantages
- Simple for guests: Scan the QR code, select photos, upload
- Mostly free or cheap: Many tools cost nothing
- Full quality: No compression
- All age groups: Almost everyone knows QR codes by now
- Anonymous option: No account creation needed
Disadvantages
- Time-limited: Free versions often delete files after 7-30 days
- Storage limits: Often only 2-5 GB for free
- No live display: Less party factor than a photo wall
- Tool quality varies: Some are buggy or slow
Costs in detail
- WeTransfer: Free (7-day storage, 2 GB limit)
- Filebin: Free (6-month storage)
- Dedicated wedding tools: 20-80€
How to set it up
- Pick a tool (e.g. Filebin, WeTransfer or a wedding-specific service)
- Create the upload link
- Generate a QR code (most tools do this automatically)
- Design the QR codes nicely and print them on place cards/signs
- Download all photos after the wedding (important with time-limited storage!)
Practical tip: Test the upload process beforehand with family or friends, so nothing gets stuck on the wedding day.
Who is it for?
The perfect middle ground for most weddings. Combines simplicity with quality. Especially good if you have mixed age groups.
6. Instagram Hashtag (The Public Option)
 Instagram hashtag: perfect for social-media-loving wedding crowds
The social media solution: you create your own wedding hashtag (e.g. #LisaAndTom2025) and your guests post their photos on Instagram with it.
Good to know: Some modern photo wall systems (like Event-Photowall) can display Instagram posts directly on the live wall - combining social media with the live experience at the venue.
How does it work?
Pick a hashtag, print it on invitations/place cards, and ask guests to post their photos on Instagram using it. You can then find all the photos via the hashtag search.
Advantages
- Free: Zero effort, zero cost
- Young guests love it: Instagram-savvy people join in automatically
- Instantly visible: You (and everyone else) see the photos right away
- Easy to share: Family and friends can follow along
- Creative filters: Guests often edit their photos beautifully
Disadvantages
- Public: Anyone on the internet can see the photos (unless a guest's account is private)
- Instagram users only: Guests without an account can't participate
- Compressed quality: Instagram reduces the resolution
- Incomplete: Many forget, or don't want to post publicly
- Downloading is a chore: You have to save each photo individually (or use tools)
Costs
Free. For downloading, you can use paid tools (approx. 10-20€), but it can also be done manually.
How to set it up
- Come up with a unique hashtag (check it doesn't already exist!)
- Communicate it on all your materials (save-the-date, invitation, place cards)
- Announce it again on the wedding day ("Post your photos with #LisaAndTom2025")
- Optional: a sign at the entrance or by the photo booth
- Collect the photos after the wedding (manually or with a download tool)
Practical tip: Keep the hashtag simple and unambiguous. Nobody remembers #LT2025, and #LisaAndTomGetMarried beats #TheWeddingOfLisaAndTomAtTheLake.
Who is it for?
A young, social-media-active wedding crowd. Great as an additional method, but don't rely on it as your only solution - or you'll miss the photos from grandma, your uncle and all the non-Instagrammers.
7. USB Stick Collection Station (The Analog-Digital Hybrid)
Note: We explicitly advise against this method. The DIY approach sounds good on paper, but rarely works satisfyingly in practice.
The idea: you set up a laptop or PC where guests connect their smartphones and copy photos onto a USB stick.
How does it work?
A laptop at the entrance or in the lounge, USB cables for different phone types (Lightning, USB-C, Micro-USB), an open folder on the desktop. Guests plug in their phone and drag their photos over.
Advantages
- Cheap: A laptop, a few cables, done
- Full quality: No compression, no cloud
- Privacy: Everything stays offline and local
- Creative: The station can be decorated nicely
Disadvantages
- Inconvenient: Guests have to actively walk over to the station
- Time-consuming: 2-5 minutes at the laptop per guest
- Needs supervision: Someone has to help out and keep an eye on things
- Low participation: Many can't be bothered with the effort
- Tech problems: Cable doesn't fit, phone won't connect to the laptop, etc.
Costs in detail
- Hardware (if you don't have it): Used laptop from 100€
- USB cable set: Approx. 20-30€ for all phone types
- USB stick: 10-20€ for 64-128 GB
- Decoration for the station: 10-50€
How to set it up
- Get hold of a laptop (doesn't have to be new)
- Get various USB cables (Lightning, USB-C, Micro-USB, USB-A)
- Create a folder on the desktop: "Wedding photos - please drop them here"
- Decorate the station nicely with a sign and instructions
- Ask someone you trust to help with tech problems
Practical tip: Laminate a step-by-step guide and put it next to the laptop. With screenshots for every phone operating system.
Who is it for?
Honestly? Almost nobody. The low participation, high effort and technical hiccups make this method impractical. Even DIY fans are better off with a QR code upload tool or an affordable live photo wall - better participation with less stress.
Which Method Is Right for You?
The answer depends on three factors:
1. Your guests
- Tech-savvy (under 40): Live photo wall, QR upload or Instagram hashtag
- Mixed age groups: QR upload + disposable cameras as a combo
- Mostly older guests: Disposable cameras or WhatsApp (most people know it)
- Small group: WhatsApp or a USB station can work
2. Your budget
- Under 50€: WhatsApp, Instagram, cloud link (free) or Event-Photowall Basic (from 39€)
- 50-100€: QR code upload tool or Event-Photowall Package (from 74€, recommended)
- 100-200€: Event-Photowall largest package (up to 169€), possibly plus projector rental
- Over 200€: With additional hardware rental (projector 100-200€) if needed
3. Your perfectionism level
- "Memories are all that matters": WhatsApp or Instagram will do
- "Good quality matters": QR upload or cloud link
- "We want ALL the photos in top quality": Combine several methods
The Best Combinations
You don't have to pick just one method. Clever combos:
Combo 1: Modern & Comprehensive (Recommended)
- Live photo wall as the central solution (upload, display, download, challenges and event page in one)
- Optional: Instagram hashtag
Combo 2: Budget-Friendly
- QR upload tool (as the main method)
- WhatsApp group (as a backup)
Combo 3: Social Media Deluxe
- Live photo wall with Instagram integration
- Cloud link (for private/personal photos after the celebration)
Combo 4: Maximum Engagement
- Live photo wall with photo challenges & quiz (motivates guests through interactive features)
- Instagram hashtag (for extra social media reach)
Important: More than 2-3 methods will overwhelm your guests. Keep it simple. A well-chosen live photo wall can bundle many functions and replace several separate tools.
5 Practical Tips That Really Help
 Clear communication is the key to collecting photos successfully
1. Communication is everything
Whatever method you choose: announce it multiple times. On the invitation, at the entrance, after the ceremony, on the place cards. People need repetition.
Sample text for place cards:
"Share your favorite moments with us! Scan the QR code and upload your photos. We can't wait to see the day through your eyes! ❤️"
2. Make it foolproof
Test your chosen method with the least tech-savvy people you know. If your grandma manages the upload, everyone will.
3. Appoint a "photo coordinator"
A best man/maid of honor or close friend who makes sure on the wedding day that:
- QR codes are visible
- Disposable cameras don't disappear
- The tech is working
- Guests get reminded
You won't be able to take care of it yourselves on the day.
4. Set a deadline
Communicate it clearly: "Please upload your photos by December 31." Otherwise, many people simply forget.
5. Say thank you
A short thank-you after the celebration shows appreciation - and conveniently reminds the forgetful ones to upload their photos (see the FAQ "Can we still collect photos afterwards?").
The Honest Truth About Guest Photos
Whichever method you choose: you won't get photos from every guest. Realistic expectations:
- Live photo wall: 60-80% of guests upload something
- Disposable cameras: 90% of the cameras get used
- WhatsApp: 40-60% participate actively
- Cloud link: 30-50% upload after the wedding
- QR upload: 50-70% join in
- Instagram: 30-40% of the young guests, 0% of the older ones
- USB station: 10-20% (but top quality in return)
The simpler and more visible the method, the higher the participation. The more effort involved, the fewer photos.
And that's okay. The photos you do get are worth it anyway. Honestly? Going through 500 guest photos is already a project for rainy Sundays.
Frequently Asked Questions (FAQ)
How many guest photos are normal?
With 80 guests: 150-400 photos, depending on the method. Live photo walls and disposable cameras deliver the most; passive methods less.
Do I need to tell guests in advance?
Yes, absolutely. Ideally mention it on the invitation so guests bring their phones fully charged. But don't worry - explaining it again at the venue works too.
What about privacy / GDPR?
- Public methods (Instagram): No problem, guests decide for themselves
- Private uploads: Point out that photos stay private
- Faces: Communicate it if you plan to show the photos publicly later
Bottom line: as long as guests upload voluntarily and know what happens with the photos, you're safe. If you want to be extra careful, choose a GDPR-compliant provider - Event-Photowall, for example, runs on servers in Germany (EU).
Can guests upload videos?
Depends on the method:
- Live photo wall: Often yes (check with the provider)
- Cloud link: Yes, but mind the storage limit
- WhatsApp: Yes, but heavily compressed
- Instagram: Yes (Reels, Stories)
- Disposable cameras: No
Videos eat a lot of storage - plan for an extra 1-3 GB.
What if the venue's Wi-Fi is bad?
Then live photo walls and upload tools partly fall flat. Alternatives:
- Rent a mobile router (from a mobile carrier or rental service)
- Rely on disposable cameras (no internet needed)
- WhatsApp works over mobile data (if reception is good)
Ask the venue about their Wi-Fi quality in advance!
How long does it take to develop disposable cameras?
- Local photo labs/drugstores: Often 1-2 weeks, plus extra time for scanning
- Online services: Typically a few days to a week including scans
- Express service: 24-48 hours (costs more)
Plan for the wait - you won't get the pictures the next day.
Should we have an "unplugged ceremony"?
That's your call. Some couples don't want phones during the ceremony (so everyone is present and the photographer has a clear view). You can announce that beforehand.
Our take: Unplugged during the ceremony, free-for-all afterwards. That way you get beautiful official photos AND spontaneous guest snapshots.
Can we still collect photos afterwards?
Of course! Send a reminder email 1-2 weeks after the wedding with the upload link. "If you still have photos, we'd absolutely love to see them!"
Many guests only upload afterwards, once the excitement has settled.
Conclusion: Which Method Wins?
The honest answer: it depends.
Our favorite for most weddings: A modern live photo wall like Event-Photowall, bundling upload, display, download and interaction in one solution (see features above). With prices from 39€ (recommended: the 74€ package), it's more affordable than many think, and at 60-80% it delivers the highest guest participation.
For bargain hunters: A WhatsApp group (small wedding under 50 guests) or a free cloud link. It works, but it's more chaotic and usually delivers compressed quality.
For social media fans: A live photo wall with Instagram integration - hashtag posts appear on the wall and all photos are stored safely in one place.
Vintage charm as an add-on: Disposable cameras have their appeal, but keep the limited quality and low later use in mind. As a main method, we recommend modern alternatives.
Sharp or blurry, it doesn't matter: guest photos show your wedding from perspectives no photographer can capture - grandma on the dance floor, the chaos in the kitchen. Pick the method that fits you and your guests, communicate it clearly, and look forward to the pictures that come together.
More helpful pages:
- QR code for wedding photos: how your guests share pictures instantly
- Wedding checklist: plan your big day step by step
- Social wall for your event: everything in one place
Tip: Whichever method you choose - copy the photos onto an external hard drive after the wedding. Clouds can disappear, phones can break. A physical backup is worth its weight in gold.
Ready to get started?
Collect all your guest photos in one place - via QR code, no app needed, one-time from 39€. Create your event now
Published December 10, 2025 | Reading time: approx. 8 minutes | Category: Wedding